Blog
How to Repair a Brick Step: Easy DIY Guide
18th Mar 2024
18th Mar 2024

When it comes to home maintenance, knowing how to repair a brick step is a valuable skill. Over time, brick steps can suffer from wear and tear, leading to loose or damaged bricks and crumbling mortar. Addressing these issues promptly not only enhances your home’s appearance but also ensures safety. This guide provides a detailed walkthrough of the repair process, from assessing the damage to the final touches, making your brick step repair a manageable DIY project.
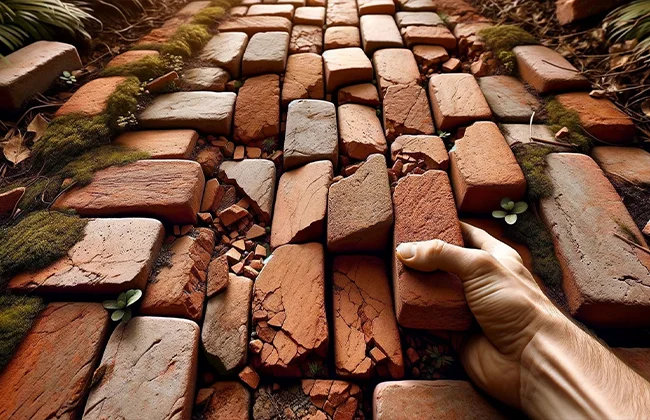
The first step in repairing your brick step is a thorough inspection. This crucial phase involves identifying all issues that need addressing. Start by checking for loose bricks; these are often the most visible signs of damage. Next, examine the mortar joints. Are they crumbling or missing? This can compromise the integrity of the step. Also, assess the levelness of the steps. Uneven steps can be a tripping hazard and indicate underlying issues.
A successful repair job starts with the right materials. The primary materials you’ll need are replacement bricks and mortar. It’s crucial to match these as closely as possible to your existing materials for a consistent look. Additionally, gather tools like a chisel, hammer, trowel, and safety equipment such as gloves and goggles.
| Material/Tool | Purpose |
| Bricks | Replacement for damaged bricks |
| Mortar | To set and bind the bricks |
| Chisel | For removing damaged bricks |
| Hammer | Assisting in brick removal |
| Trowel | For applying and spreading mortar |
| Safety Equipment | To protect eyes and hands |
Removing damaged bricks is a delicate process. Start by using the chisel and hammer to gently remove the mortar around the damaged bricks. Be cautious not to damage the surrounding bricks. Once the mortar is removed, carefully extract the bricks. If they don’t come out easily, gently tap them with your hammer.
With the damaged bricks removed, it’s time to prepare the area. Clean out all debris and old mortar to ensure a clean, solid surface. This step is critical for the new mortar to adhere properly. Sweep away all dust and particles, and if necessary, use a brush to clear out finer particles.
Mix your mortar following the manufacturer’s instructions. Apply a generous amount of mortar to the area where the brick will be placed. Then, press the new brick firmly into position. Make sure it’s aligned and level with the existing steps. Remove any excess mortar that squeezes out.
Once your bricks are in place, it’s time for the finishing touches. Fill the joints around the new bricks with mortar, using your trowel to smooth it out. This not only secures the bricks but also gives a neat finish. After filling the joints, clean off any excess mortar from the brick faces.
Finally, consider sealing the repaired step. This can help protect against weather and wear. Regular maintenance, such as cleaning and inspecting the steps, is also vital. This proactive approach can help catch issues early, preventing more extensive repairs in the future.
Successfully repairing a brick step not only restores its functionality but also revives the aesthetic appeal of your home’s exterior. By following the steps outlined in this guide, you can confidently tackle this task, ensuring a durable and visually pleasing result. Remember, regular maintenance and prompt repairs will keep your brick steps in prime condition for years to come, making your effort a worthwhile investment in your home’s longevity.
A: Regularly inspecting your brick steps, at least twice a year, is recommended to identify any signs of wear or damage early. This proactive approach can save time and effort in long-term maintenance.
A: Repairing a brick step in very cold temperatures is not advisable. Mortar sets best at temperatures above 40°F. In colder weather, the setting process is hindered, which can affect the durability of your repair.
A: It’s crucial to use a mortar type that matches your existing steps. Typically, a high-strength mortar mix is suitable for outdoor brickwork, providing durability and weather resistance.
A: The setting time for mortar can vary, but it generally takes about 24 to 48 hours to set properly. Avoid using the steps during this period to ensure a strong bond.
A: Sealing is an excellent way to protect your brick step from moisture and weather-related damage. It’s a worthwhile extra step, especially in areas prone to harsh weather conditions.